 by
by GitHub · LinkedIn · About · YouTube
Last updated by Kindson Munonye — June 29, 2026
📚 Tutorial hub: Angular tutorials
Source code: GitHub — Spring Boot API · Complete CRUD guide
Part 1 Setup ·
Part 2 GET ·
Part 3 POST ·
Part 4 Details ·
Part 5 Edit ·
Part 6 Delete ·
All Angular tutorials
1. Setup Details Modal of Selected Record
We would use the same method we used in Part 2 to display the modal form. However, this very form would not allow for any editing. Therefore, it would be quite simple.
How it works: When the user click on edit, we would call a the function to open the modal. Then, we also pass two parameters across: (1) the modal that is being opened (2) the selected record to be displayed. Then, in the function, you will display the record on the modal using getElementById().setAttribute(). So simple!
Step 1: Copy and paste the ng-template block of code
Step 2: Change the ids of the controls. This is because you can’t have duplicate names in a form. So i change firstname to fname, lastname to lname and so on.
Step 3: Take out all the name attributes from the controls
Step 4: Take out all the for attributes from the labels
Step 5: For the <ng-template> tag, change from #content to #contentDetails
Step 6: Remove all the ngModel from the controls. NgModel is normally used for two-way binding. This is not what we want here.
Step 7: Remove all the attributes from the form tag.
At this point, your form would be as shown in the code below.
<form>
  <div class="form-group">
    <label for="firstname">Firstname</label>
    <div class="input-group">
      <input id="fname" class="form-control">
    </div>
  </div>
  <div class="form-group">
    <label for="lastname">Lastname</label>
    <div class="input-group">
      <input id="lname" class="form-control">
    </div>
  </div>
  <div class="form-group">
    <label for="department">Department</label>
    <div class="input-group">
      <input id="dept" class="form-control">
    </div>
  </div>
  <div class="form-group">
    <label>Email</label>
    <div class="input-group">
      <input id="email2" class="form-control">
    </div>
  </div>
  <div class="form-group">
    <label> Country</label>
    <div class="input-group">
      <input id="cntry" class="form-control">
    </div>
  </div>
</form>
I hope it is clear so far!
2. TypeScript Code to Display Selected Record
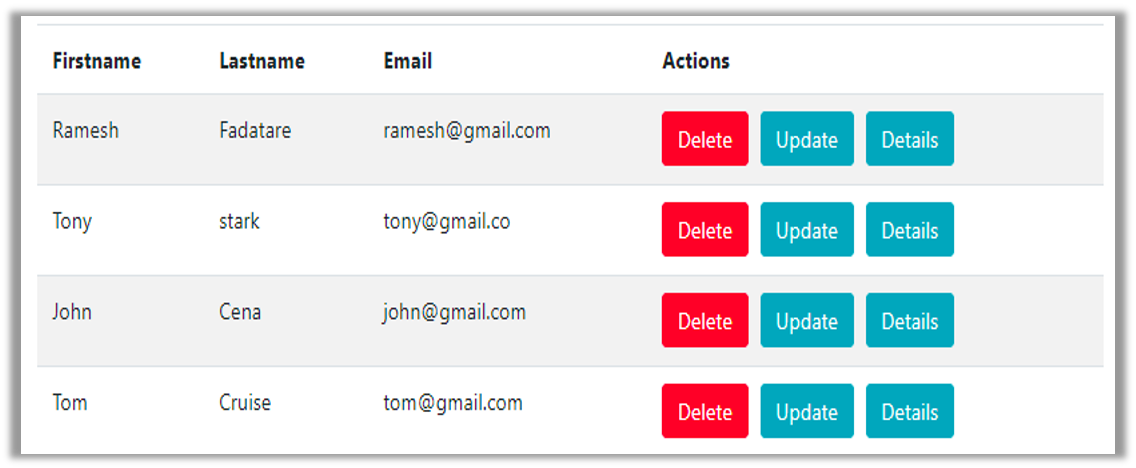
First, we are going to put the click event in the Details button in the html table.
Step 1: Add the code below to the Details button
(click)="openDetails(contentDetails, friend)"
In the code above, contentDetails is the id of the modal while friend is the selected record.
Step 2: Write the event handler method. You can find it below:
openDetails(targetModal, friend: Friend) {
   this.modalService.open(targetModal, {
    centered: true,
    backdrop: 'static',
    size: 'lg'
  });
   document.getElementById('fname').setAttribute('value', friend.firstname);
   document.getElementById('lname').setAttribute('value', friend.lastname);
   document.getElementById('dept').setAttribute('value', friend.department);
   document.getElementById('email2').setAttribute('value', friend.email);
   document.getElementById('cntry').setAttribute('value', friend.country);
}
The code above is very simple too. Simply get the element, and assign a value to it using the selected record.
After the cleanups below, then the form should look like this:

3. A Few Clean ups and Next Steps
Some of the things we need to do includes:
- remove the submit button from the form since we are not submitting anything
- in all the controls, you can add readonly because the user is not expected to change the values.
So we have succeeded in displaying the details form. Big congrats to you! However, there’s still more to be done. For instance, we need to work on editing a record. Also deleting a record as well. We’ll look at these in Part 5. So let’s move on!
Remember, if you have challenges, let me know. Finally, I recommend subscribing to my Channel on YouTube.

[…] Part 4 – Details Modal Form […]
[…] Part 4 – Here we were able to display selected record in a details modal form. […]
[…] CRUD Tutorial Series: Part 1 Setup · Part 2 GET · Part 3 POST · Part 4 Details · Part 5 Edit · Part 6 Delete · All Angular […]
[…] CRUD Tutorial Series: Part 1 Setup · Part 2 GET · Part 3 POST · Part 4 Details · Part 5 Edit · Part 6 Delete · All Angular […]
[…] CRUD Tutorial Series: Part 1 Setup · Part 2 GET · Part 3 POST · Part 4 Details · Part 5 Edit · Part 6 Delete · All Angular […]